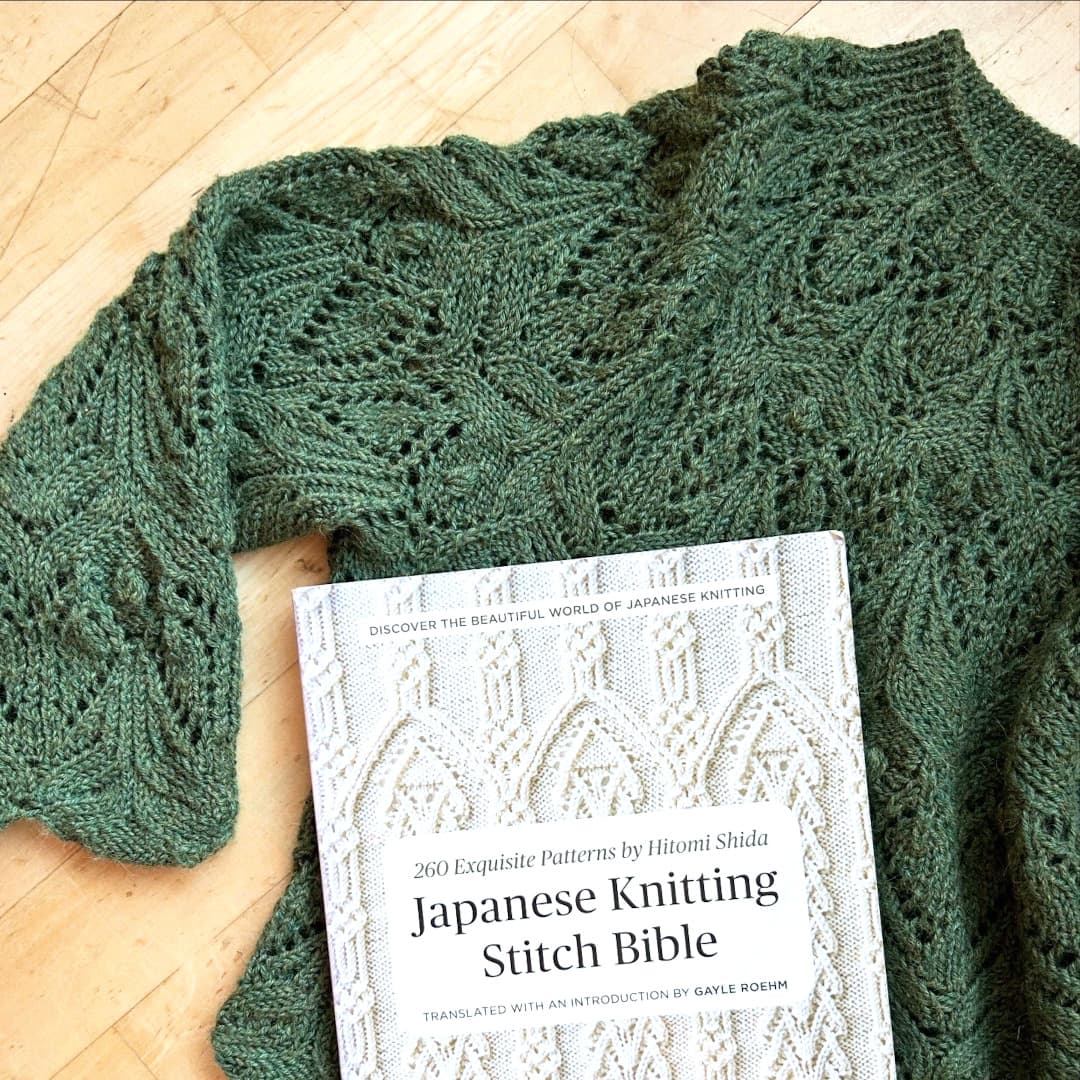
Every sweater has an origin, and this one came about when my dad gave me luxurious alpaca yarn he brought home from Peru. This journey deserved a real project, so I started flipping through my favorite knitting book, Japanese Knitting Stitch Bible. It’s hard to find another book with such beautiful, tasteful, and varied stitch patterns. But it leaves the rest to you, and you have to work out how to use them yourself.
In the past, that’s often where my process stalled. The thought of having to map each stitch pattern onto the different parts of a sweater, on top of calculating the entire garment from A to Z, was enough to make me put down the needles. Today, I use Knittable to calculate the base pattern for the fit I want, and then use that as a reference for experimentation. In freer projects like this one, I rely only on the measurements and key numbers, and play with the stitch pattern within those boundaries.
Choose a pattern
I start by browsing through the patterns until one of them catches my eye, whether it's a yoke piece, a pattern for an edge, or the classic pattern square. Then I have the starting point for the garment, which even determines what kind of garment I end up knitting.
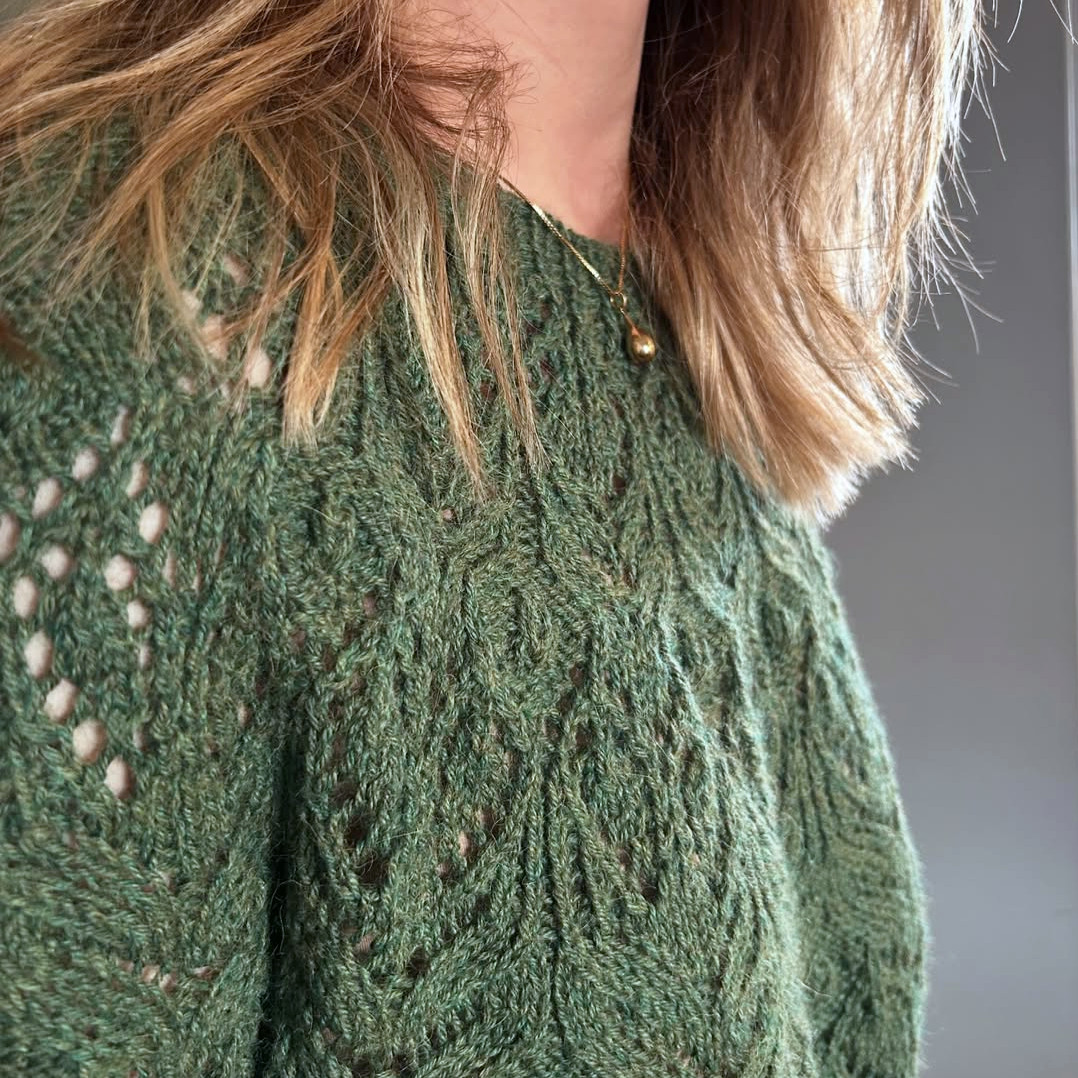
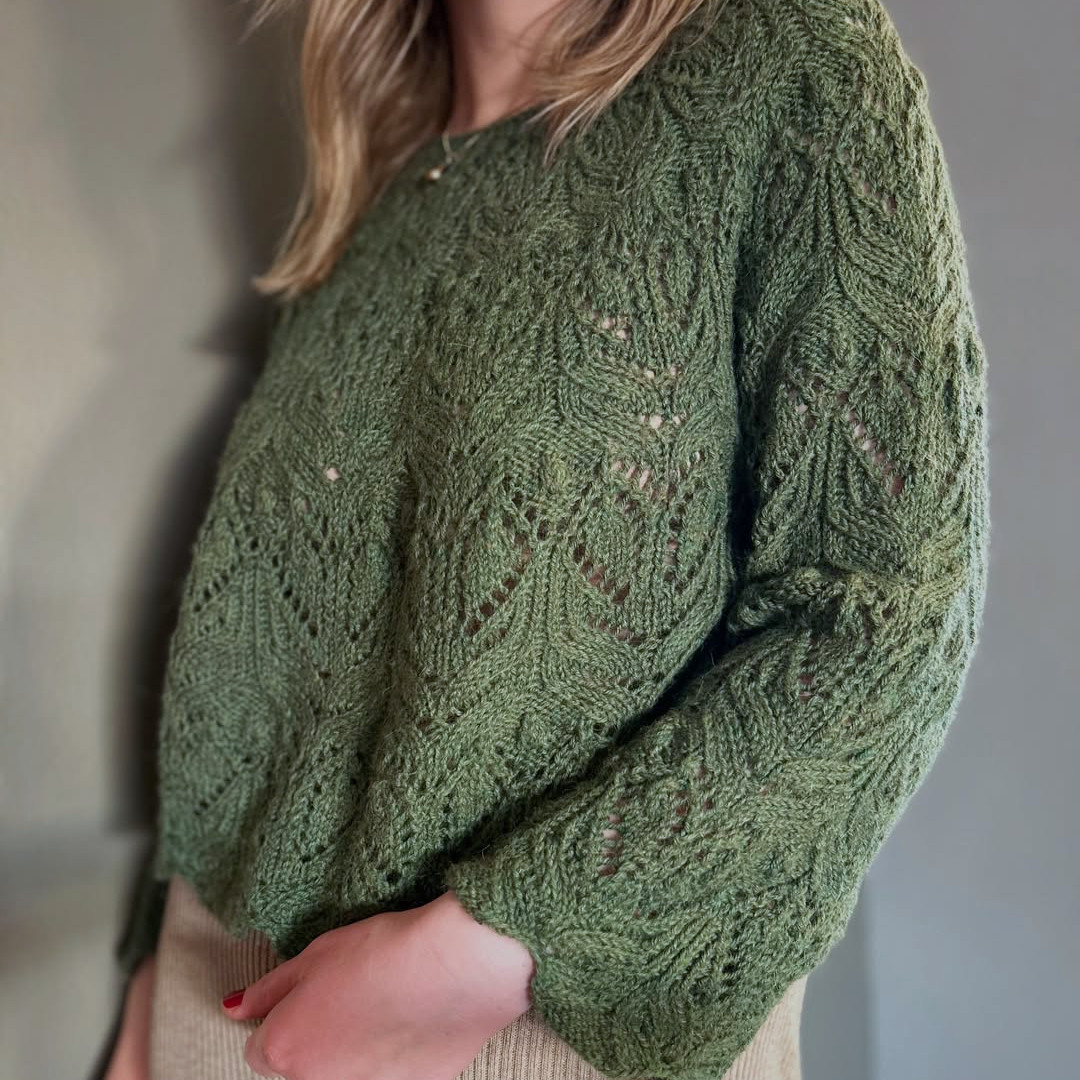
The pattern above immediately called to me, and I envisioned that the curved edge would work well as a hem on a sweater and sleeves. This called for a straight body and sleeves without any ribbing, and in my mind began to take shape a sweater to wear over a dress and with a skirt.
I set Knittable to give me a loose, short sweater, and decided to have the sleeves in the shorter length as well.
Get to know the pattern
The key to a project like this, is to set it up so that I don't need to do any experiments or make decisions regarding the pattern until I've gotten to know it well.
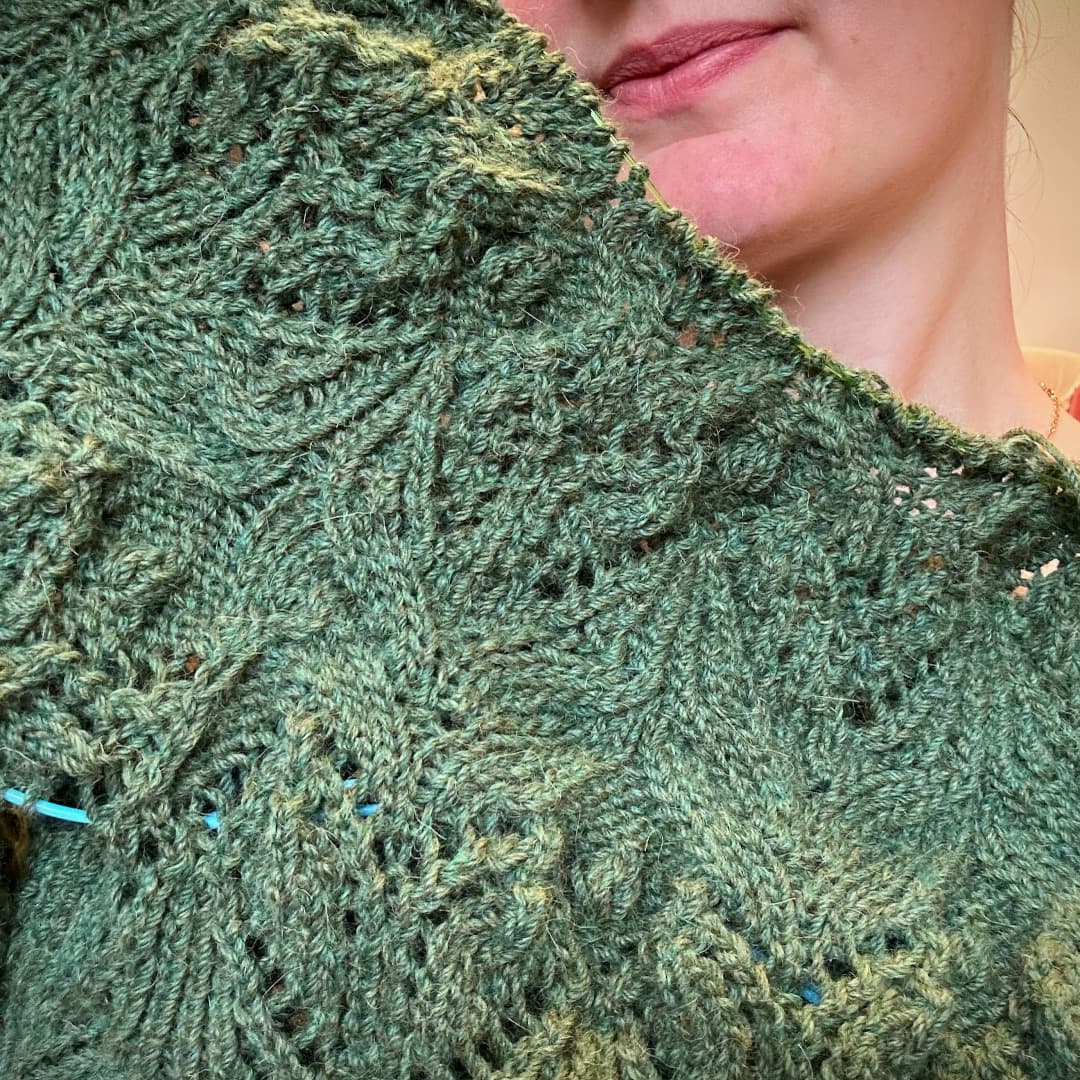
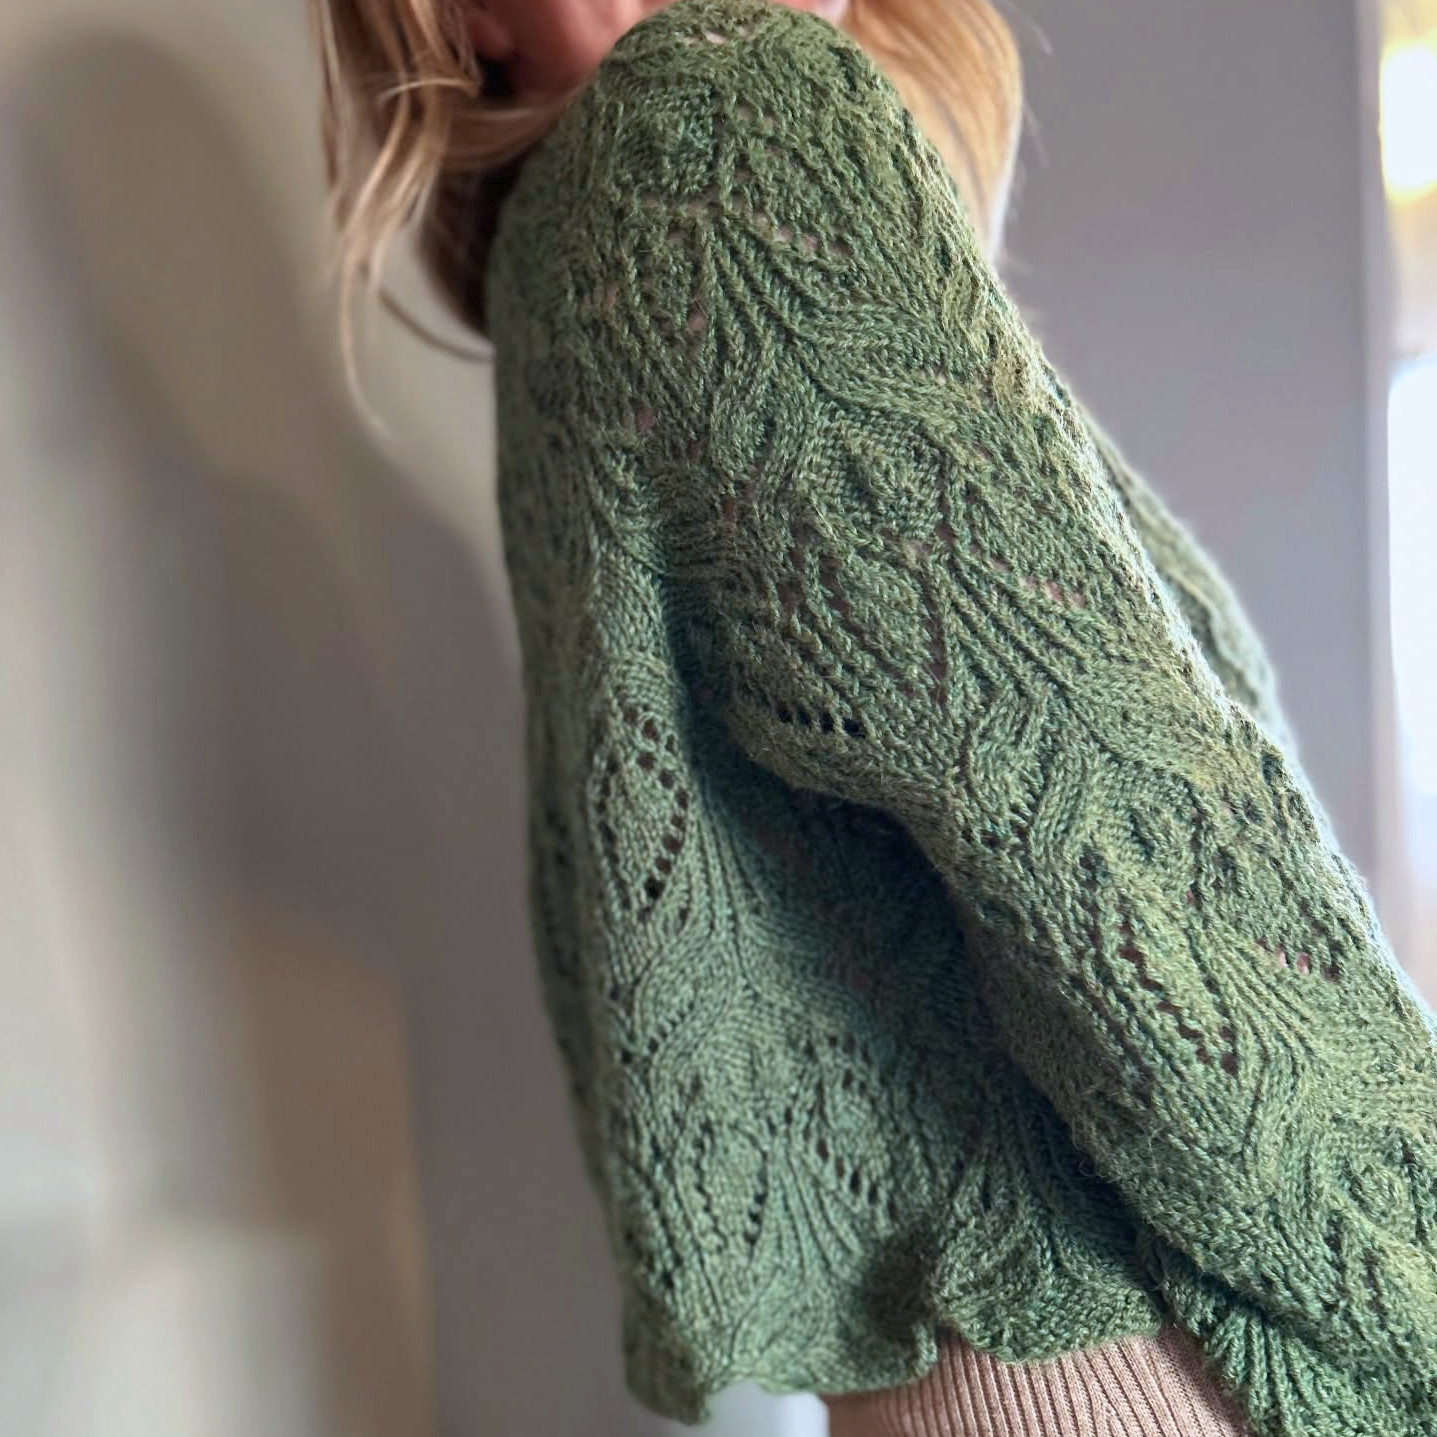
Since I wanted to knit the pattern as is for the sleeves and body, but would need to adapt it to shape the yoke, I decided to work the sweater from the bottom up.
After knitting both body and sleeves, I knew exactly why there was a decrease in every other round here or a yarn over there, etc.
The yoke
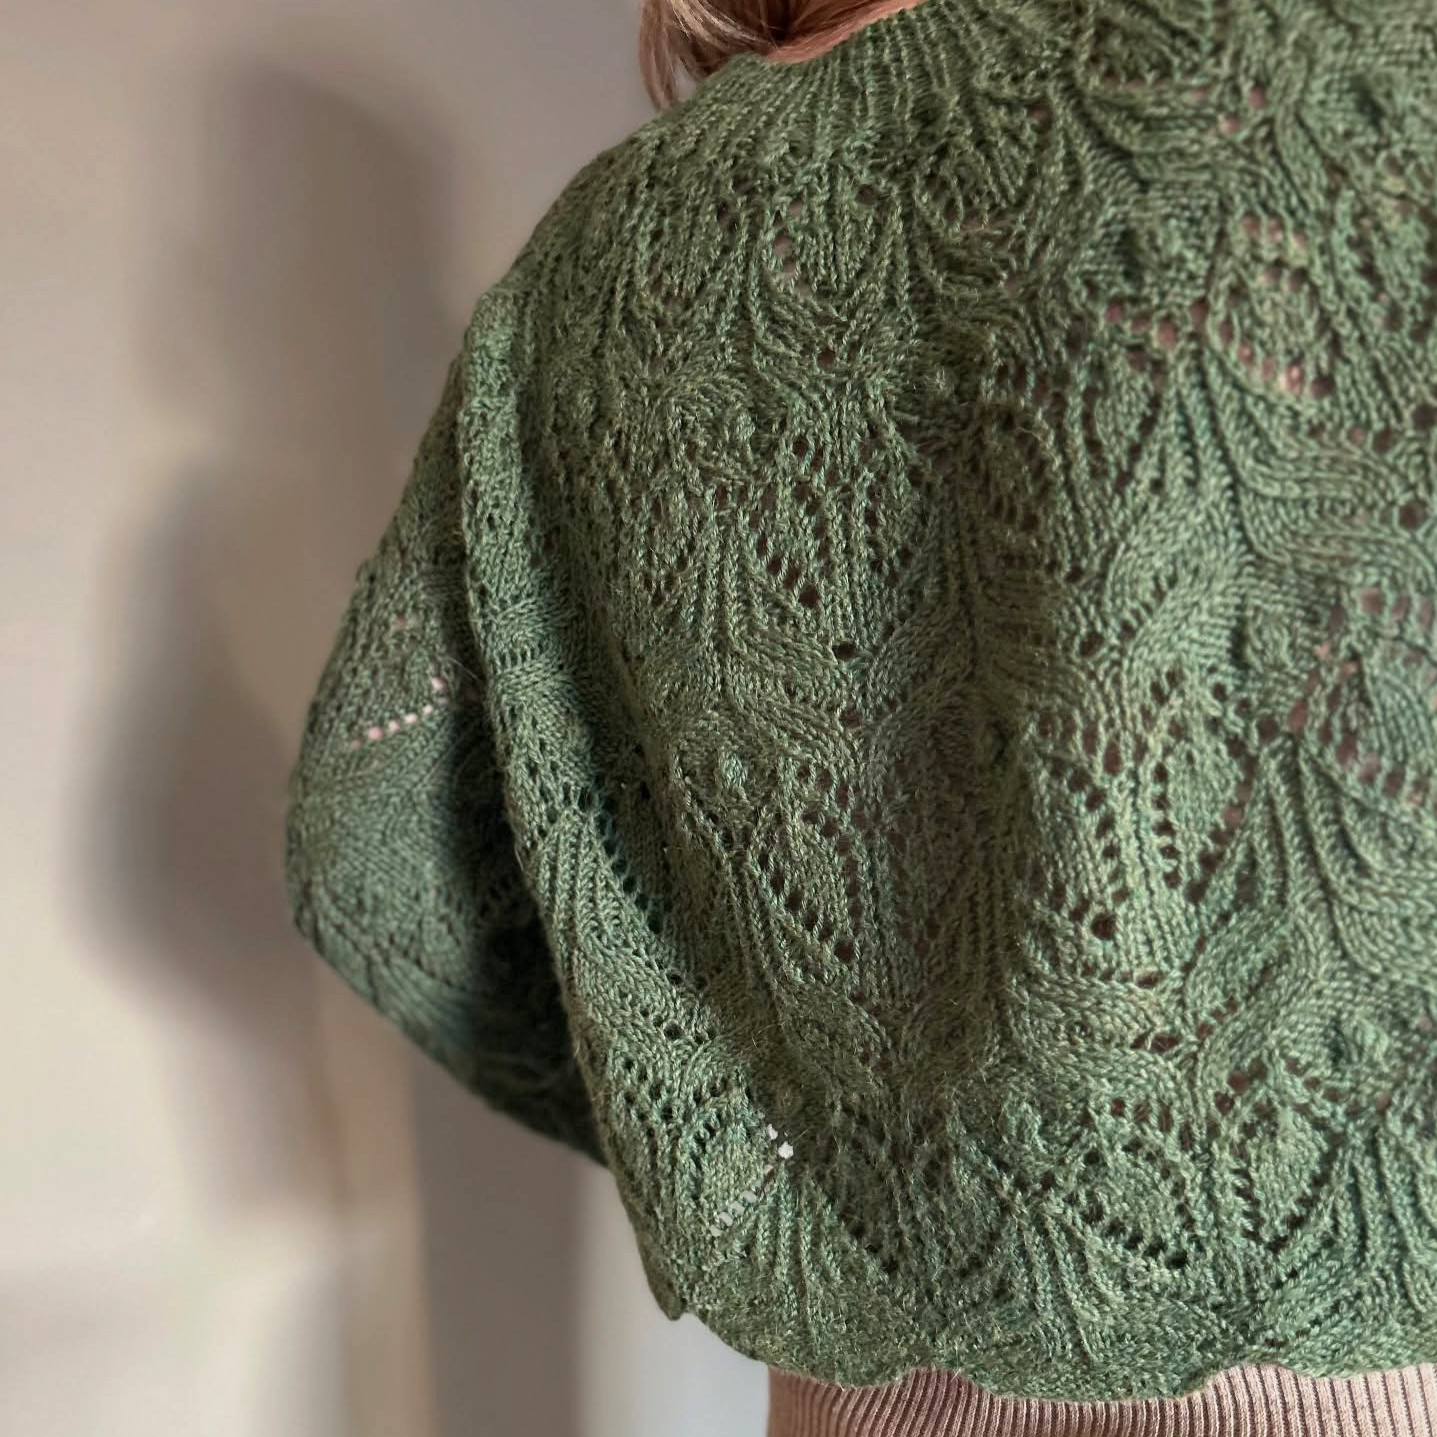
For pattern-based sweaters, it’s often easier to work a sweater with a raglan yoke rather than a circular one. The stitch pattern can simply disappear into either side of the raglans, and the main thing to watch out for is that the pattern is centered.
That said, incorporating a stitch pattern into a circular yoke can be very beautiful, and fun! When doing so, it helps to keep this rule of thumb in mind: decreases/increases should average 4 stitches per round (compare this to raglan yokes, where you typically do 8 stitches every other round).
Example: I had 16 pattern repeats and a symmetrical stitch pattern, which meant I needed to decrease two stitches within each repeat. That adds up to 32 decreases (2 × 16) in each decrease round. I find it useful to think of this as building up a four-stitch decrease debt with every round I knit. After the first round, I owe 4 stitches; after the second, 8; and so on, until I reach 32 and work a decrease round. For this sweater, that meant decreasing every eighth round, but sometimes I moved the decrease round up or down 1-2 rounds based on whatever suited the stitch pattern best.