Cable Sweater
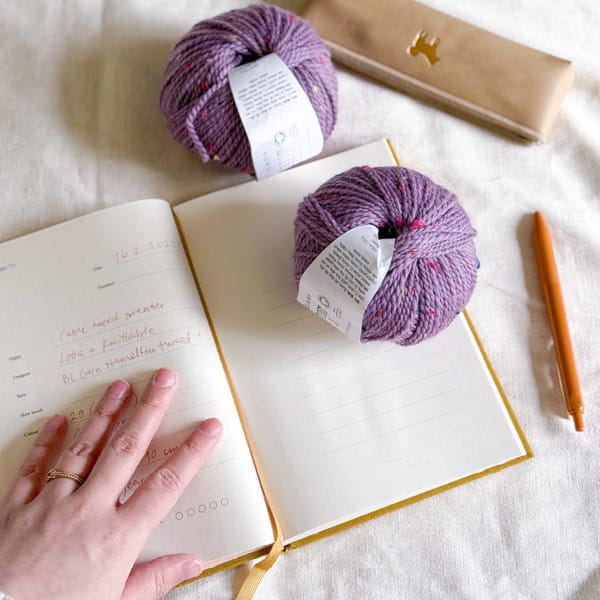
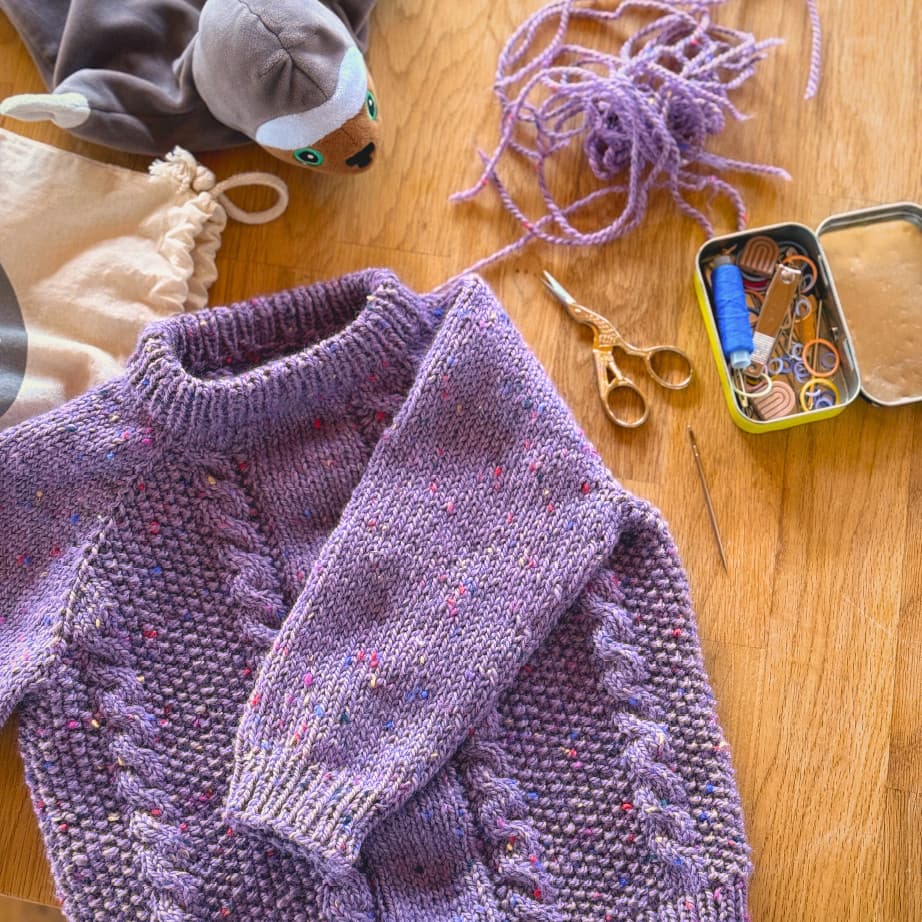
Sometimes inspiration comes in the form of beautiful yarn. I found this soft multicolor tweed yarn by BC Garn and knew right away I wanted to knit a classic cable sweater with it. Something about tweed yarn just screams cables! I had never knitted cables before, so I was excited to try it out. Keeping the idea simple and cables small and manageable were key elements to making this sweater work out for me – I got so carried away with it I finished it within a week!
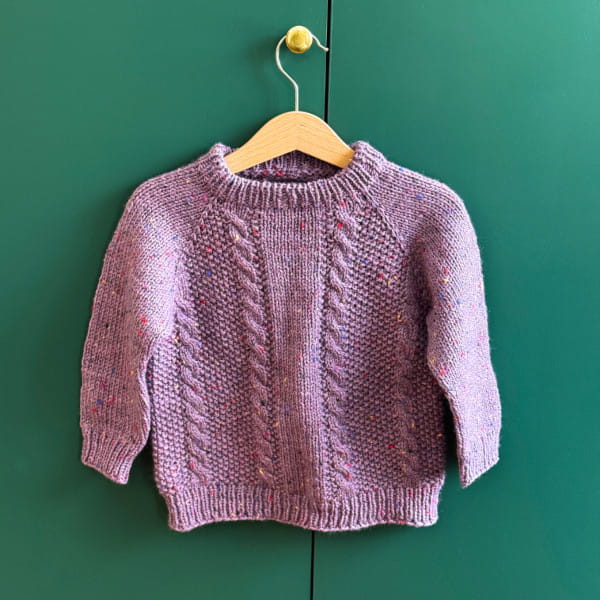
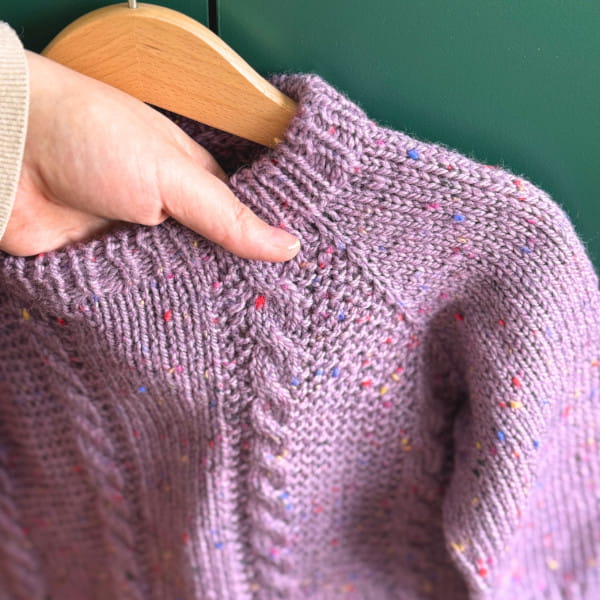
When starting this sweater design, I wasn't sure how many cables I wanted. I ended up knitting two cable columns on the front, starting right next to the raglan increases. As the yoke started to shape out, I noticed the sweater would look pretty empty if there were only two cables in the front and two in the back – so once I reached 10 stitches of moss stitch between the cable and the raglan, I started knitting another cable column next to the raglan. Now there were four cables visible in the front and four in the back, with approximately 10 stitches in between each cable.
To adjust this design idea to your own sweater, you simply have to evaluate how big the cables should be, how many stitches you want between the cables and if you want the spaces between to be equally spaced or not. For example, this sweater was knitted in size 2–4 years, but could be easily adapted to a bigger or smaller size by increasing the amount of stitches between the cables. Deciding the stitch to use next to the cables is also crucial in making the cables stand out, so make sure to try it on a swatch first!
The best thing about knitting a cable sweater with raglans, is that you can design it as you knit!
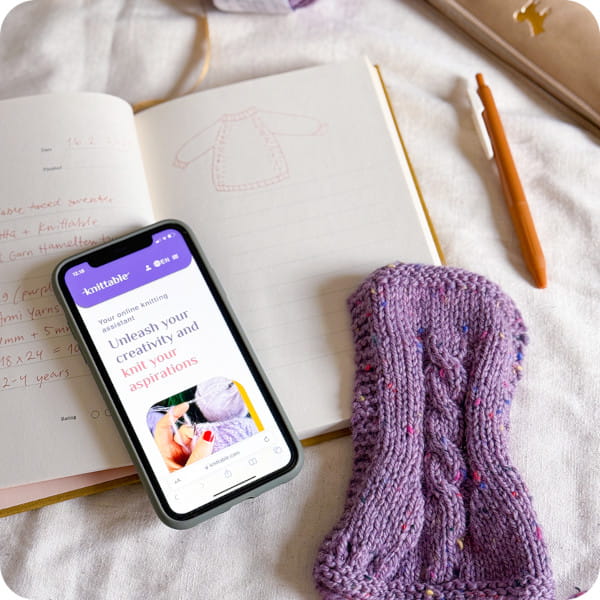
Sketch your idea with a swatch
Pen and paper are good for sketching out ideas, but make sure to try your cables out with a swatch – this also works for getting the gauge for the pattern, which is crucial for calculating a size that fits the intended user. For these cables, I made a simple sketch on paper to guide me where I wanted the cables to start and when I should add another column of cables.
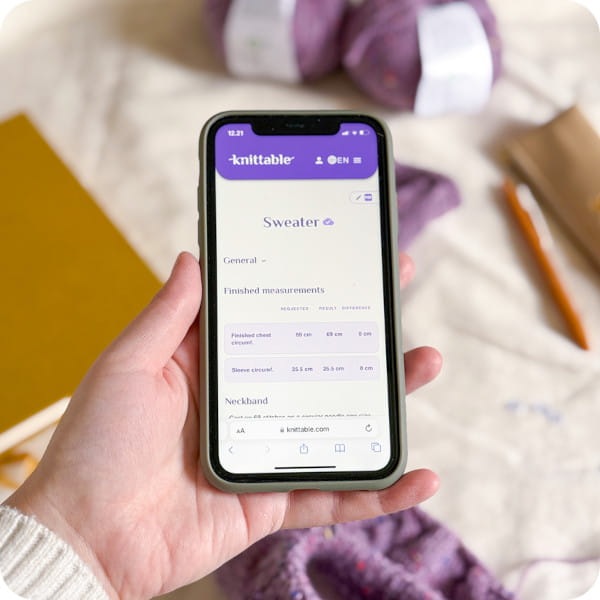
Calculate the base pattern
Add your desired measurements, fit, raglan designs and gauge into Knittable Sweater Pattern tool. The tool will calculate your stitch counts and shaping ready, and you can add your knitted cables on while knitting. Fun idea - try out cables in the raglan! Just add your cable design stitch count as raglan stitches.
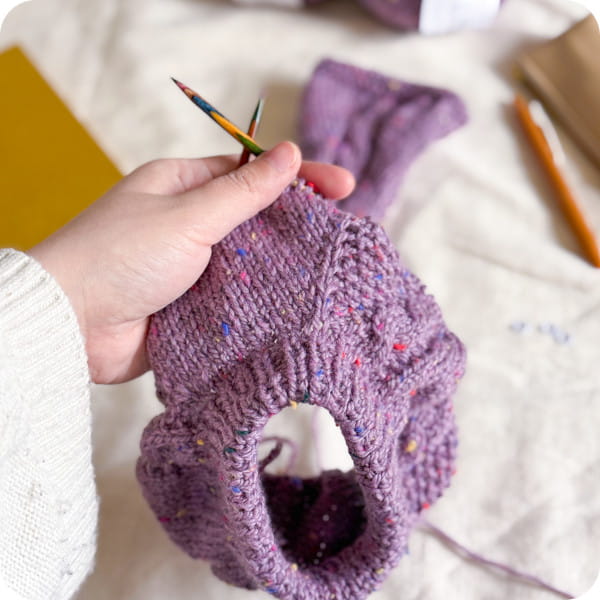
Have fun with improvising!
It's good to have a solid base pattern and some idea behind your design, but sometimes the magic happens when you're winging it – with this sweater, I initially planned on just two cables in the front and two in the back, but as I knitted along I decided to add more close to the armpits. Creativity will guide you, remember to listen to it!
Cable sweater
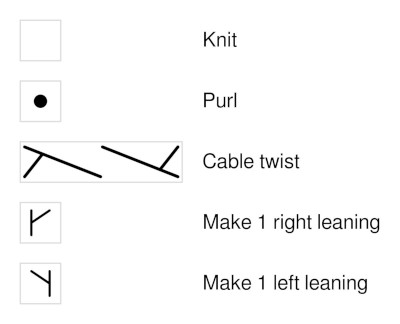
Needed: Cable needle
Knitting gauge: 18 stitches x 24 rounds = 10 x 10 cm
Needle size: 4 mm on the ribbing and 5 mm for everything else
Yarn: BC Garn Hamilton Tweed 1 GOTS in colorway 29
Yarn amount: 190 g
Size: 2 - 4 years (intended user is 3 years old)
Fit: Loose (15 cm ease)
Length: Regular
Design: Folded neckband, single ribbing, 1 raglan stitch
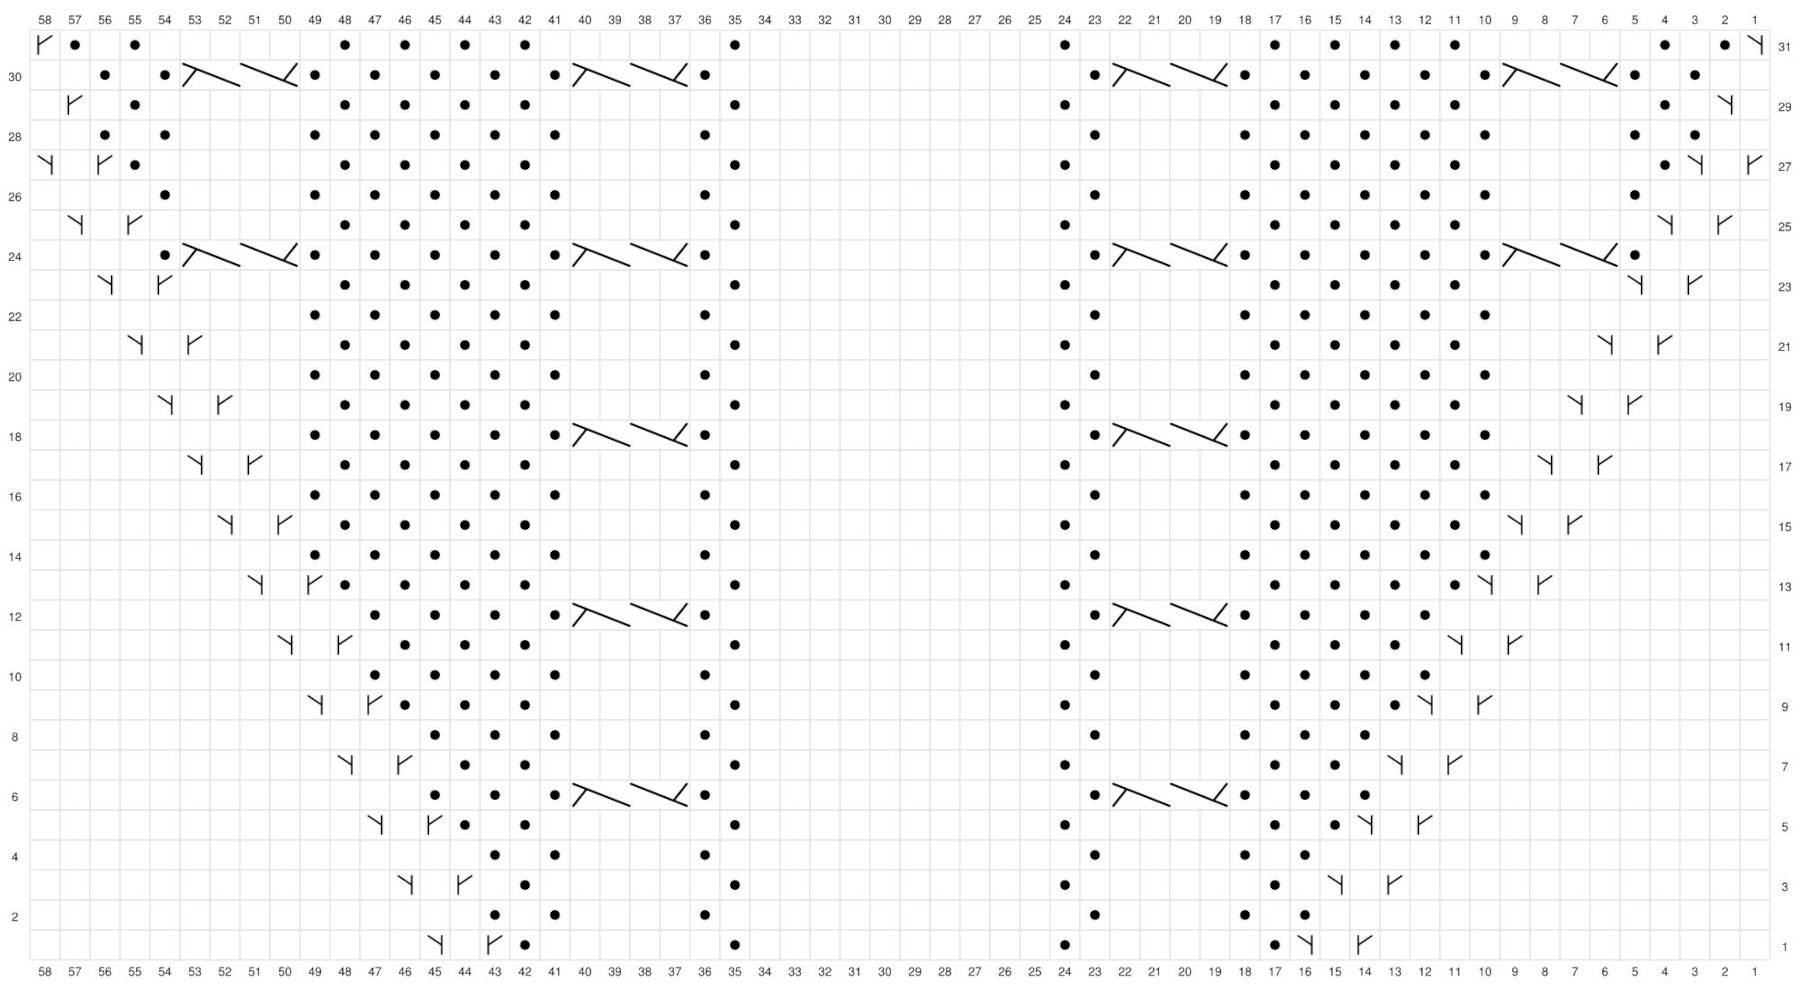
Yoke pattern